The soil crystal charging station is a cheap and easy way to replenish the energy of your crystals. It is absolutely the most accessible charging station that you can make.
You don’t even have to spend any money on the materials. Literally, you just need 2 items to make it work.
You can also have some fun with this and make it look pretty.
For instance, if you want to use it as a decorative piece, I recommend having a nice container. If not, any container at least 3 inches deep works competently.
For this soil crystal charging station tutorial, I am giving two versions. One is pretty rustic and straightforward by using a wood bowl. The other one uses any type of container. Both options can be pretty cheap depending on what you already have available to you.
This tutorial is about how to make a soil crystal charging station.
If you are wondering what charging your crystals mean and why it is so important check out my article, What No One Tells You About, How To Utilize Crystals.
Things to Consider When Making Your Soil Charging Station
My soil crystal charging station will have 2 purposes. It will serve as a decorative piece on my personal altar. As well as a crystal charging station.
The wood bowl I chose was an unfinished one I found at Home Goods (I LOVE that store). You can find unfinished wood bowls anywhere, and they are relatively cheap. I chose this because I love the rustic feel of wood and the opportunity for customizing.
So, I stained and coated the bowl.
If you go this route, choose any color and type of stain you want. I tend to use the brand Minwax brand for my projects. They are cheap and easy to find in many colors!
I used a spray sealer from Michael’s, Krylon Crystal Clear Acrylic Coating Spray, to coat my bowl. I love this sealant and use it in many of my projects.
If you use a spray sealant, you must prepare your work area.
- Use a plastic painter’s cloth on the surfaces you’ll be using
- Use a well-ventilated space, preferably outside
- Wear gloves
- A safe spot to let the bowl dry
The spray sealant I use is dry to the touch after 15 minutes and safe to completely handle in 2 hours. I tend to leave it alone for longer while completing other tasks.
Regardless of the sealant type you use, make sure that you do this in a well-ventilated area! Inhaling those fumes can be highly harmful.
Spruce It Up Or Leave It Simple
Once your container is ready, simply place the soil inside the container. As I stated, you want the soil depth to be at least 2 inches.
In my bowl, I created a small hill to bury my gemstone pieces due to the depth of my bowl being on the shallower end.
If you are a regular DIYer, you may have these materials. Worry not. If you don’t, there is still a cheap option!
That consists of using any type of container! You don’t have to make it pretty. A plain old container of dirty works splendidly! A simple soil crystal charging station that effectively charges your crystals!
Below I have 2 step-by-step tutorials that use any simple container and an unfinished wood container. Pick which one appeals to you.

Soil Crystal Charging Station Using a Finished Container
Materials
- Container
- Dirt or Soil
Instructions
- Make sure your container of choice has a depth of at least 3 inches.
- Fill the container with your soil or dirt
- Place your crystal that needs charging at least 2 inches into the dirt container
- Cover the crystal with dirt
- Leave the crystal within the soil or dirt for at least 24 hours.
Notes

Soil Crystal Charging Station Using An Unfinished Wood Container
Materials
- Unfinished wood container
- Wood stain
- Rag cloth
- Sealant spray
- Painter’s cloth
- Soil
Instructions
- Lay out your painter’s cloth in a well-ventilated.
- Stain your wood container according to the instructions on the jar and let the stain dry.
- Once the stain dries, use the sealant spray to seal the wood. Make sure you cover all the sides. Take your time and do a side at a time. Do 1 to 2 coats.
- Allow the sealant to completely dry according to the instructions on the bottle.
- Once the seal has been set, add in your soil!
Notes
Congrats, you now have a soil crystal charging station!
Don’t Use As Your Soil Station
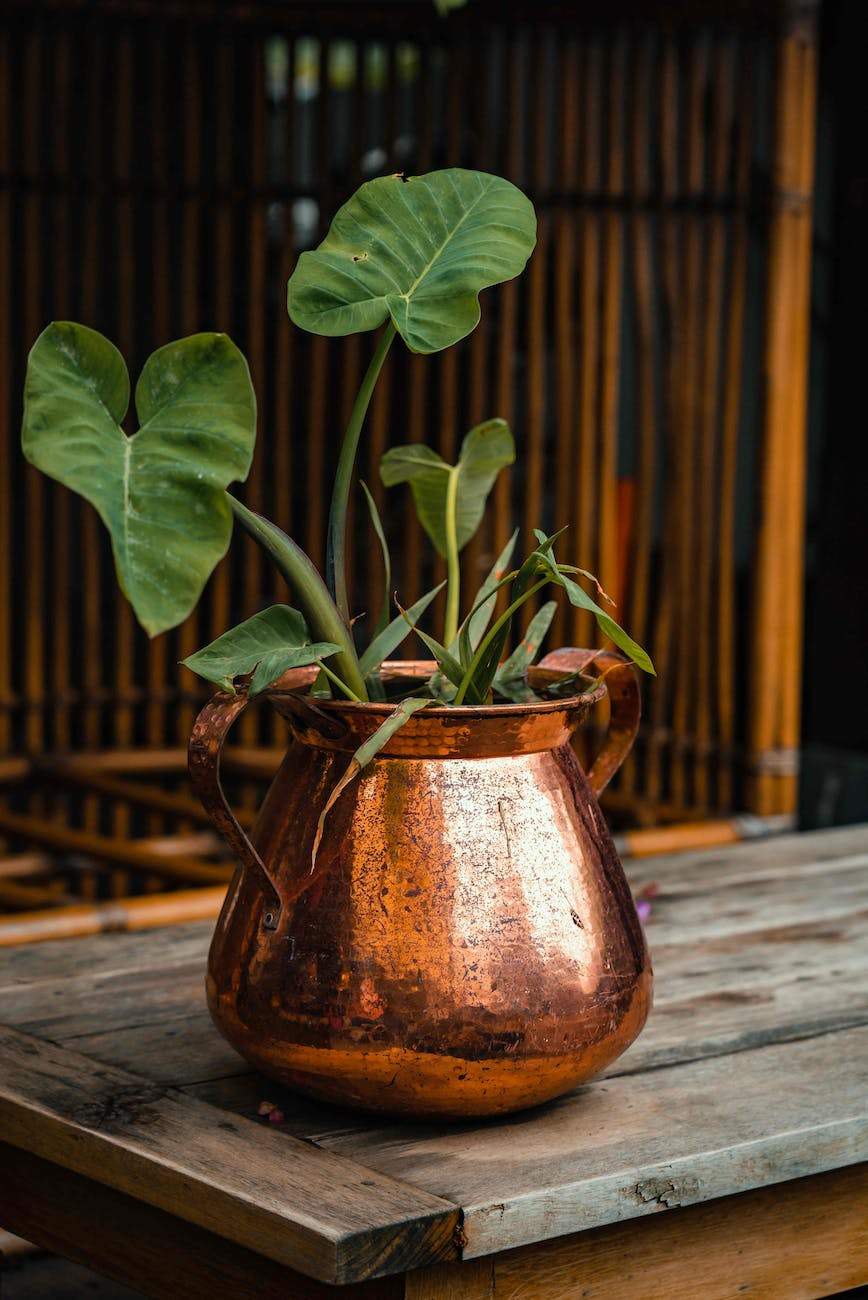
I do not recommend it if you have plants and are thinking about just putting the crystal in the plant pot. Some plants can be demanding, and you might find that disturbing them could cause them to become unhappy.
What do I mean by unhappy?
Well, your plant could become wilted and the growth stunted. You could sometimes kill off your plant if you are not careful. It is not surprising if the roots become damaged unknowingly.
For that reason, I do not like to disturb my plants. So, I have a separate container to charge my crystals. Besides this soil crystal charging station does not take much to make.
Be Creative With Your Soil Crystal Charging Station

I ended up adding some gemstone-wrapped selenite sticks. They add a pretty pop of color and some benefits to the recharged crystal. Selenite is impressive for its ability to cleanse. Check out this DIY tutorial here.
In the past, I’ve also made one that served as a small terrarium. I grew moss and micro plants. It was pretty. The sky is the limit when it comes to creativity.
Just know that depending on what you decide to do will impact the type of crystals you can charge within the station. Like the mini terrarium, I ensured the crystals I charged in it could withstand moisture.
Another piece of advice is to make sure that if you add plants to your charging station, you make enough room to bury your crystal without disturbing the plant(s).
A little more thought goes into making this one, so I don’t recommend it for this cheap and easy soil charging station tutorial.
(if enough interest is shown in the terrarium option, then I can make a DIY for that too!)
Some Tips:
- When choosing your soil, try to use natural soil. Something that does not contain miracle growth. You don’t want a porous crystal to absorb those chemicals. Especially if it tends to be in constant contact with your skin.
- Let your soil or dirt dry out. Whether getting it from a bag or in your yard, you want to ensure all moisture is removed before using. Some crystals will melt or become brittle when exposed to moisture.
- There is always an opportunity to be creative! Try dressing up your station. You don’t have to do what I did, but have some fun with it.
But Wait, There’s More
I like to dress up my charging station with wire-wrapped selenite. My go-to combination is selenite and carnelian.
Selenite works great with recharging, and carnelian is excellent for cleansing. These give additive effects to the charging station.
I will be doing an easy DIY to make your own next week. Don’t miss out! They are super cute, and you can use them anywhere, not just for the charging station.