Today I am bringing you another do-it-yourself (DIY) crystal charging station, Sea Salt Zen Garden Crystal Charging Station. This crystal charging station is multi-functional in that you can use it not only to charge your crystals but also for meditation.
Zen Gardens are fantastic to use while meditating or simply decompressing after a long day. They are incredibly relaxing.
You can decorate it with fake plants, crystals, rocks, and mini figurines. Other ways to personalize it are to change the salt’s color or use a unique holding container.
Let your creativity flow with this DIY!

Why Use A Zen Garden as A Crystal Charging Station?
Using a Zen Garden as a crystal charging station allows for multi-purpose use. It is splendid for those that use crystals frequently as well as meditate. Even better for those that like to do both at the same time!
There are multiple types of meditation that you can practice. If you are unsure of the styles, look at my guide for the best meditation types for beginners here.
Two meditations that can use a Zen Garden are focused and movement-based. In simple terms, focused meditation implores you to concentrate on one thing. Whether drawing a pattern or staring at an item, the Zen Garden is highly useful.
While movement meditation is all about focusing on your movement. Using a Zen Garden for this practice, your focus will be on your hands and body movements as you draw and design in your garden. Designing could also be moving around the items within it. It’s not exclusively just drawing in the salt or sand.
You can even practice mindfulness meditation while using a Zen Garden. I think this one requires a little more skill and experience. If you are a beginner, the best course of action is to practice breathing with mindfulness before graduating from something a little more complex.
DIY Zen Garden Makes a Wonderful Piece of Decoration
This Zen Garden can be a wonderful centerpiece or piece of decoration when it is not in use. It is a show-stopper no matter what design you choose to leave in the salt. The crystals alone will attract anyone’s eyes.
Most Importantly, It Will Charge Crystals
Iodine-free salt is a beautiful way to cleanse and charge crystals. You just need salt in some container and place the crystal on top or pressed within the salt. Your crystals do not need to be fully covered. Leave your crystals to recharge for about 24 hours.
Dry is typically safe for all crystals. Avoid porous crystals, for the salt could get stuck inside the pores. This technique is excellent for crystals that are used in jewelry, just place your jewelry on top of the salt and let the magic flow.
Things to Consider with Your DIY Zen Garden Station
All of the mentions below are not required. I am simply giving some recommendations to take your Zen Garden crystal charging station to the next level. None of these recommendations are sponsored. These are what I have or considered using.
I recommend taking a look at some of the things that are available in the market. There are some really cool pieces you can use to decorate.
Tool Set
This tool set is specific for creating designs and patterns within the salt or sand of a Zen Garden. While it is not crucial to have them, I highly recommend them if you are using the garden for purposes other than recharging your crystal.
Mini Artificial Plants
You can find some at Michael’s. There is always some time of sale. I used mini artificial succulent plants for my Zen Garden DIY.

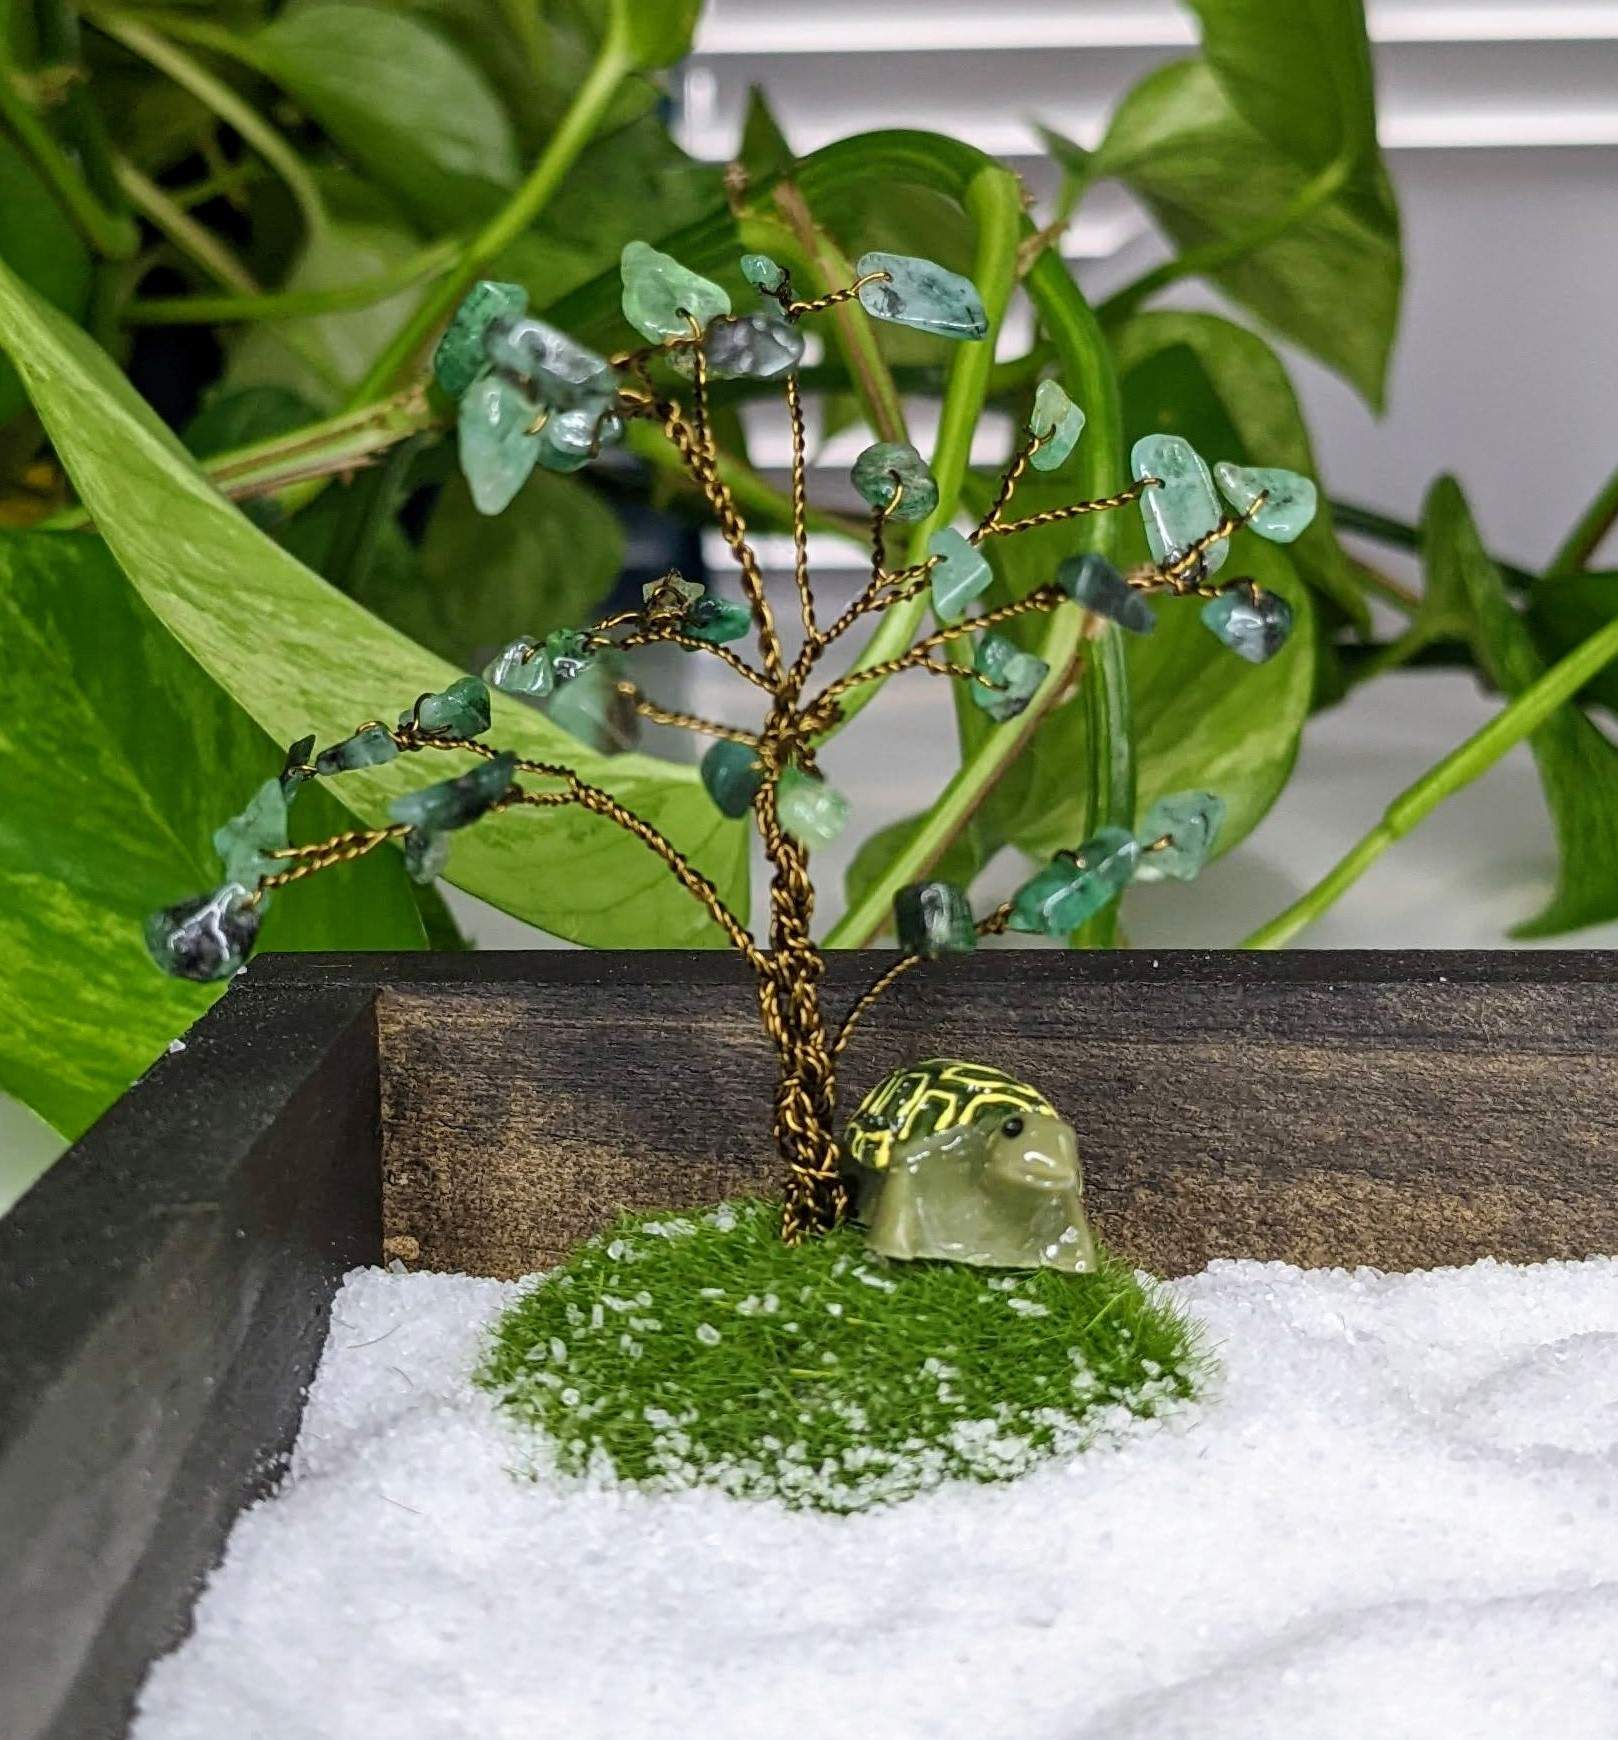
Mini figurines
There are all sorts of mini figurines out in the world! I really had to resist buying all the ones I came across. They were just so cute. I ended up getting a little turtle, and I just love him!
If this seems like it would interest you, take a look at some! Then you can struggle just as I had. Or, maybe you have more self-restraint than I do.
Different color salts
I ended up using the typical white sea salt. That is due to the dark color wood stain I used. However, other salts vary in color that you can use.
For instance, there is black salt. This salt is derived from volcanoes and includes black lava and Hawaiian sea salt. The black color comes from charcoal. I honestly thought long and hard about using this salt; had I used a lighter color stain or container, I would have.
There is also pink Himalayan salt and other types out there. Let your creativity take root!
Just make sure you are using an acceptable textured salt.

Zen Garden Crystal Station DIY
As I stated previously, this Zen Garden uses sea salt. When buying your sea salt, make sure that it is okay. The more course the sea salt is, the less likely it will retain the patterns you draw in them with your Zen Garden tools.
So, if you know you will use those tools to make patterns and designs, opt for a more refined texture salt.
A Couple Things to Note
There are multiple types of salt on the market. You do not have to use sea salt. I simply used it because I liked the size of the salt pieces.
My Zen Garden was made using a wood plaque from Michael’s as the holding container for the salt. Its measurements are roughly 9″ x 6″ x 1.5″. This wood is unfinished, so I stained and coated it with a wood stain called Minwax Espresso. Due to its smoothness, I did not find it necessary to sand the wood.
The Minwax Espresso stain has been used for many of my projects, so it is something I have already. You could try other alternatives if you do not want to purchase any wood stains. There are ways to color wood using acrylic paint and some water. I also love using this method, and I always have acrylic paint. It has pretty diverse uses. I even used it to dye fabric!
Regardless of which method you choose to color the wood, if you color it at all, you should seal your wood. I recommend using any type of Krylon Clear Acrylic Coating. I personally use it for many of my projects. It is quick and easy to use. It is not required, though.
Well, now that that’s out of the way, let’s get started on our DIY!
Materials
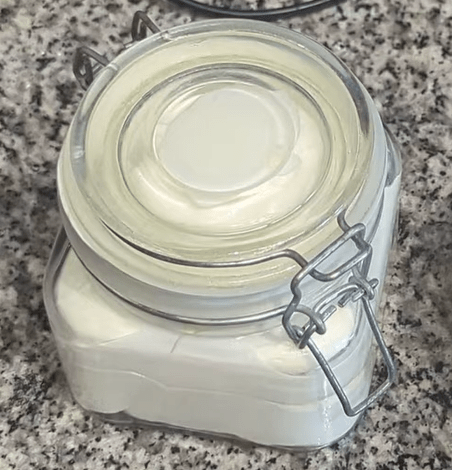
- 16 oz Fine Sea Salt
- Wood Tray or Container
- Pliers
- Wire Cutter
- Mini Artificial Plants
- Figurines
- Crystals/Stones
Optional Materials to Color Unfinished Wood
- 220 or higher grit sandpaper
- Wood Stain or Acrylic Paint
- Tap water (if using Acrylic Paint)
- Foam or Paint Brush
- Sealant
Instructions
| Unfinished Wood Container | Other Container |
| 1. Prep your wood. Make sure it is smooth and clear of dirt/debris. If the wood needs to be smoothed, use a 220 grit or finer sandpaper. Make sure to wipe off the container afterwards. 2. Stir the wood stain to mix it thoroughly. Apply the stain with using a foam brush. Make sure you are applying thin layers (stain is not like paint, very little goes a long way). 3. Apply the stain to dry according to the label’s instructions. 4. Once your wood container is dry, apply a sealant. Follow the instructions on the products label. Acrylic Paint to Color Wood 1. Prep your wood. Make sure it is smooth and clear of dirt/debris. If the wood needs to be smoothed, use a 220 grit or finer sandpaper. Make sure to wipe off the container afterwards. 2. Using a small bowl mix roughly 2 squirts of your acrylic paint color choice with 2 tablespoons of water. (Ratio can change, this is a matter of preference. Don’t be afraid to try out different combinations 😊) 3. Apply your paint mixture to the wood. 4. Let it air dry for about 4 hours. Check to see if it has fully dried to the touch. If it has not completely dried, give additional time. 5. Once the wood is fully dried, read the sealant instructions. Then apply the sealant coat and allow to dry per instructions. | Just make sure the container is cleaned off and to your liking. There is nothing fancy you have to do with an already finished container. |
- Prepare your container using the techniques above.
- Using your pliers, pull the artificial plant from its mini pot. Place the plants to the side.
- Add your salt to your finished container. Distribute evenly.
- Take your artificial plant and trim the excess stems with your wire cutters. Trim it short enough for the plant to sit comfortably in the salt in the design you want.
- Now, insert your mini figurines and crystals wherever you desire. Make sure to leave some space for when you decide to make patterns in the salt and place your crystals for their charging sessions.
Keep In Mind
I mentioned it above, but I want to repeat it. Leave your crystal to charge for at least 24 hours within your station.
I recommend charging a couple pieces of crystals at a time within your charging station, depending on their size. Use your discretion. Don’t overpack the salt station with crystals.
Once you are finished cleansing and charging your crystals, dispose of the used salt. Do not use the salt repeatedly. This is especially true if you are using it with your crystal jewelry. The salt draws out any negative energy the crystal may have come into contact with.
You should be recharging your crystal approximately once every 30 days. Especially crystal jewelry.
Enjoy Your New DIY Zen Garden
Now, you have a finished DIY Zen Garden Crystal Charging Station! I hope you simply love yours as much as I love mine. This crystal charging station is such a neat piece.
I recommend purchasing a Zen Garden tool kit! It allows you to make patterns and designs in your garden. Mine came with some cute figurines and artificial moss balls. Synthetic moss balls are why I got the idea to make a miniature gemstone tree for my Zen Garden. Check out that DIY tutorial here! I simply adore it.
See my DIY page here if you enjoyed this DIY and would like to check out some others. I have more types of crystal charging stations and other fabulous creations.
Are there any creations you would love to make but don’t know how? Reach out to me via my contact form below or leave a comment. Let me know what you are looking for, and I will try to figure out how to make it and create a DIY for you!
Until next time!